Punched Metal Tutorial (as best I can recall, but it's really cool)
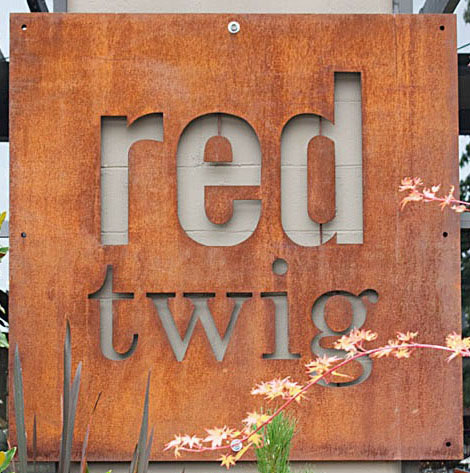
We liked what Red Twig cafe in Edmonds did with a real Cor-Ten steel panel with punched stencil letters well enough to make a punched metal effect for the logo. This is how we did it.
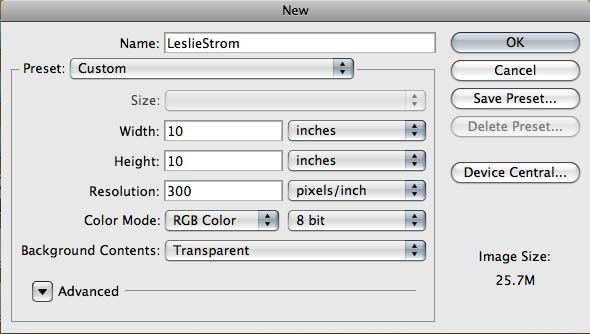
Make a Background Shape
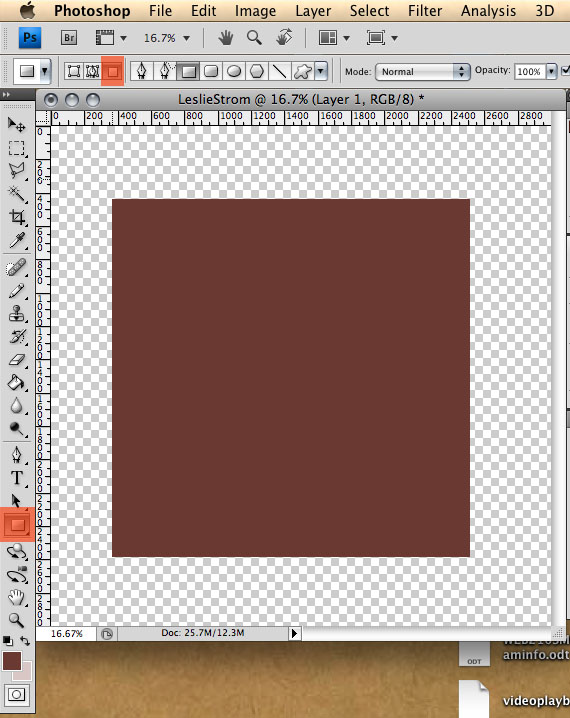
Set the color to what you want, then make a rectangle using the shape tool and be sure the pixel fill option is chosen. (This is where those damned tiny fiddly icons become important, even if they're named something mysterious.)
Create Your Text
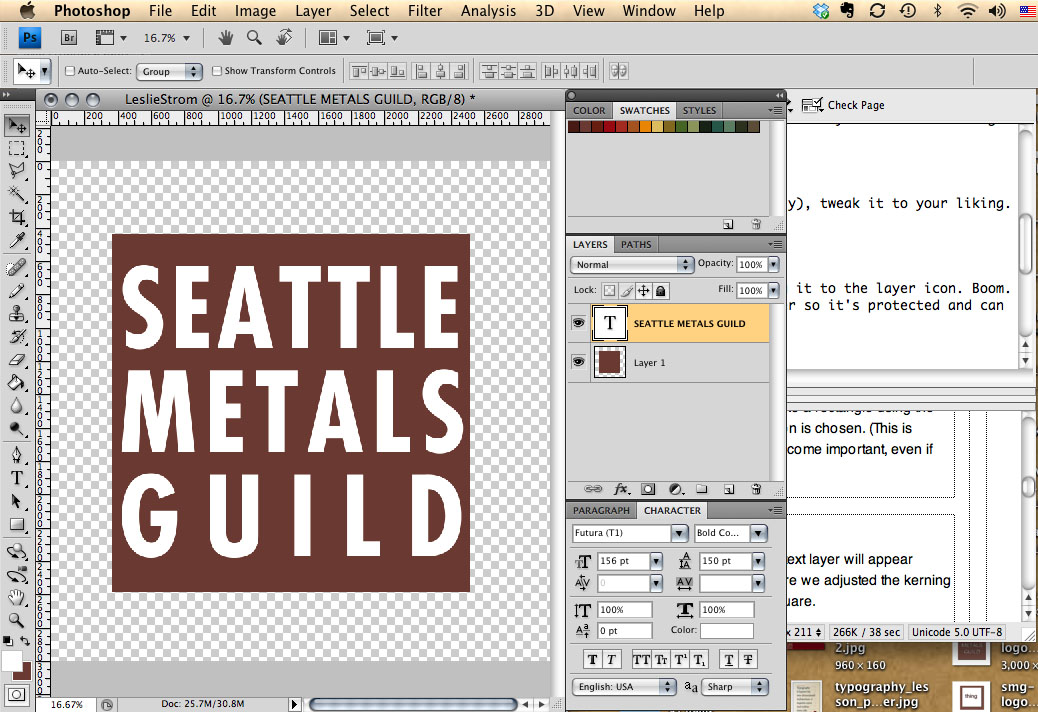
Using the text tool, make your text (new text layer will appear automatically), tweak it to your liking. Here we adjusted the kerning and leading to make it approximately square.
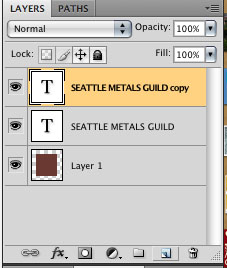
Duplicate the Text Layer
In the layers panel, duplicate your ever-so-perfect text layer by dragging it to the layer icon. Boom. Magically, there's an identical layer. Turn off the original text layer you slaved over so it's protected and can be reused later if you wish. The new text layer is about to be transmogrified.
Convert text to shape
Select the text, and change it to outline by going to layer / type / convert to shape.
Convert Shape to Working Path
Select the outlined layer, convert it to a working path, be sure to rename the path or it might not work.
Load Path as Selection
In the paths palette, select "load path as selection" icon. the paths should show up as a dashed highlighted area.
Punch a Hole
Select the rectangle layer, and punch the hold by hitting delete. command D (for Mac) deselects.
Drop a Shadow
Now the fun part. Layer / layer style / drop shadow. With your cursor on the rectangle, drag the rectangle until you get the drop shadow depth and direction you want. Adjust opacity and darkness of the shadow in the dialog box sliders.


